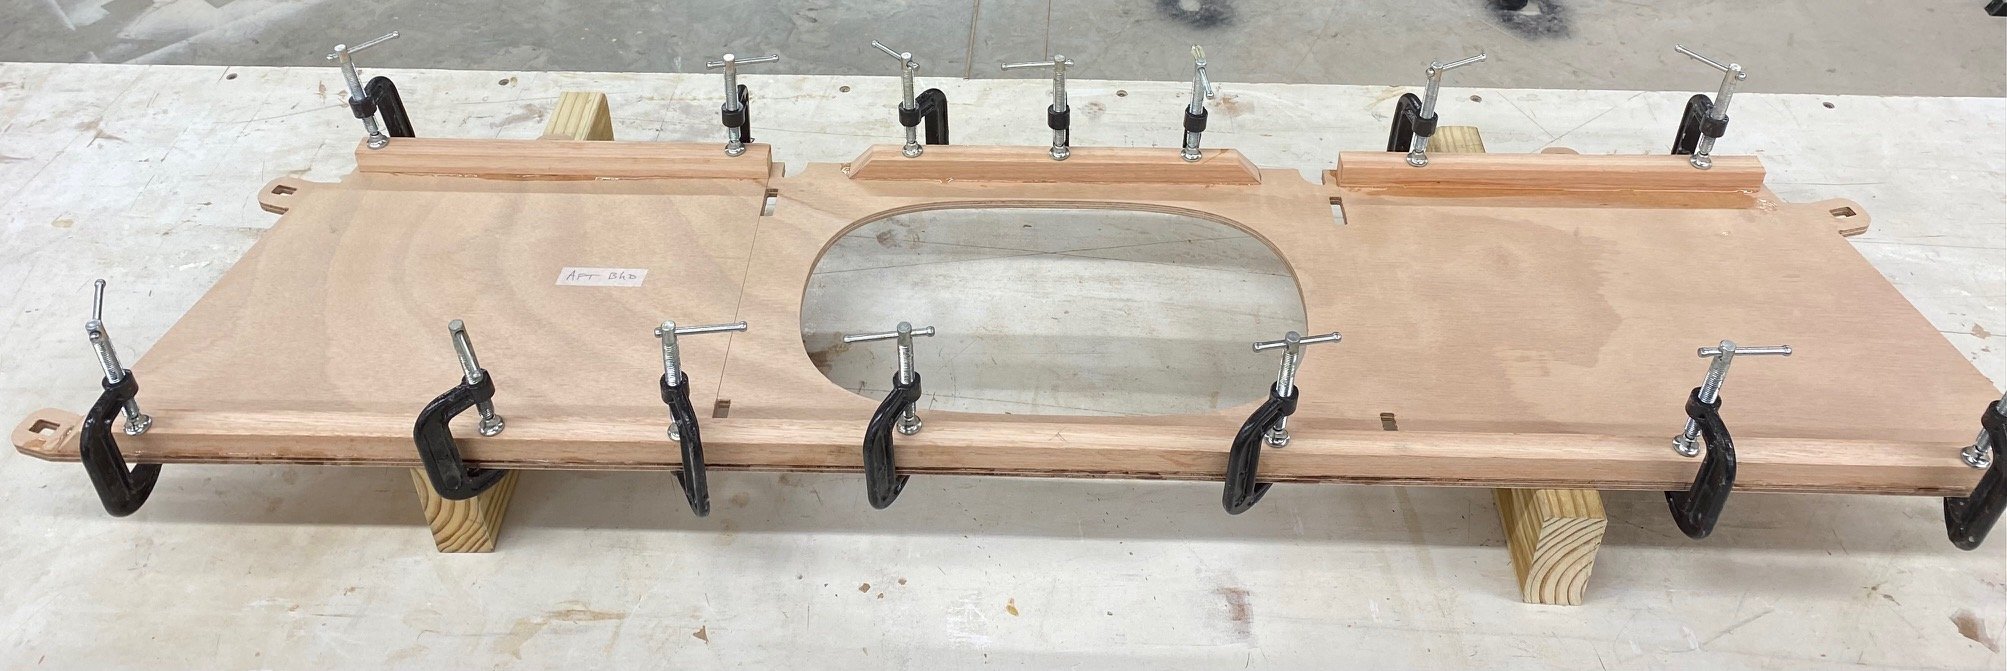
bulkhead
A bulkhead for a Compass Skiff prepped with hardwood cleats. Note the tabs on the ends.

Frames
Part of the parts making process is to laminate these side arms, which eventually get glued and screwed to a hardwood bottom piece to make a midship frame.

Midship frame
The side arms were glued and now the frame is assembled with the “cross-spall” running across the top, which will help to hold the shape until the boat is built. This frame is important in establishing the width of the boat in the middle. Putting these parts together really is easy and a fun way to practice basic carpentry skills.
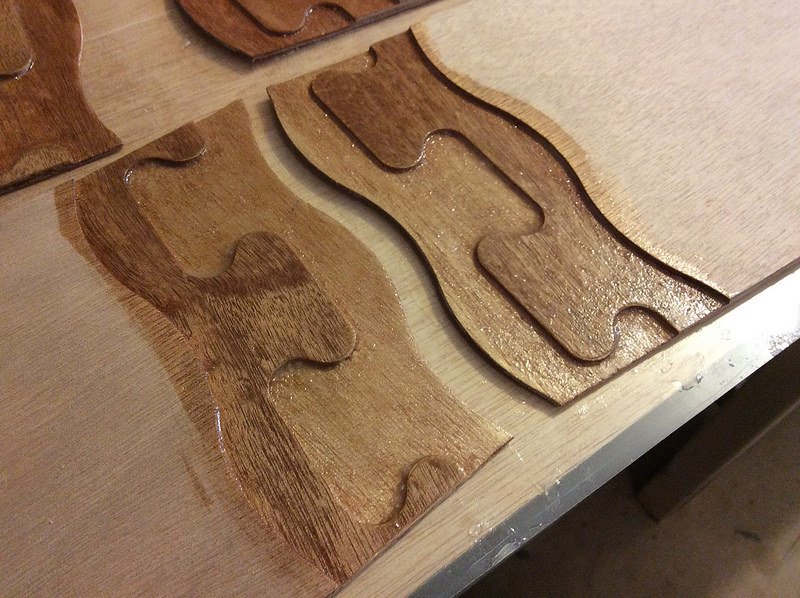
NC-scarf
This is our proprietary scarf joint cut on the CNC machine, a puzzle joint that is “blind” - you cannot see the dovetail shapes from the outside of the join. This was a very important thing for me and is why people are often surprised that my boats are kits because the finger joints so common on kit boats are very hard to see in my boats!
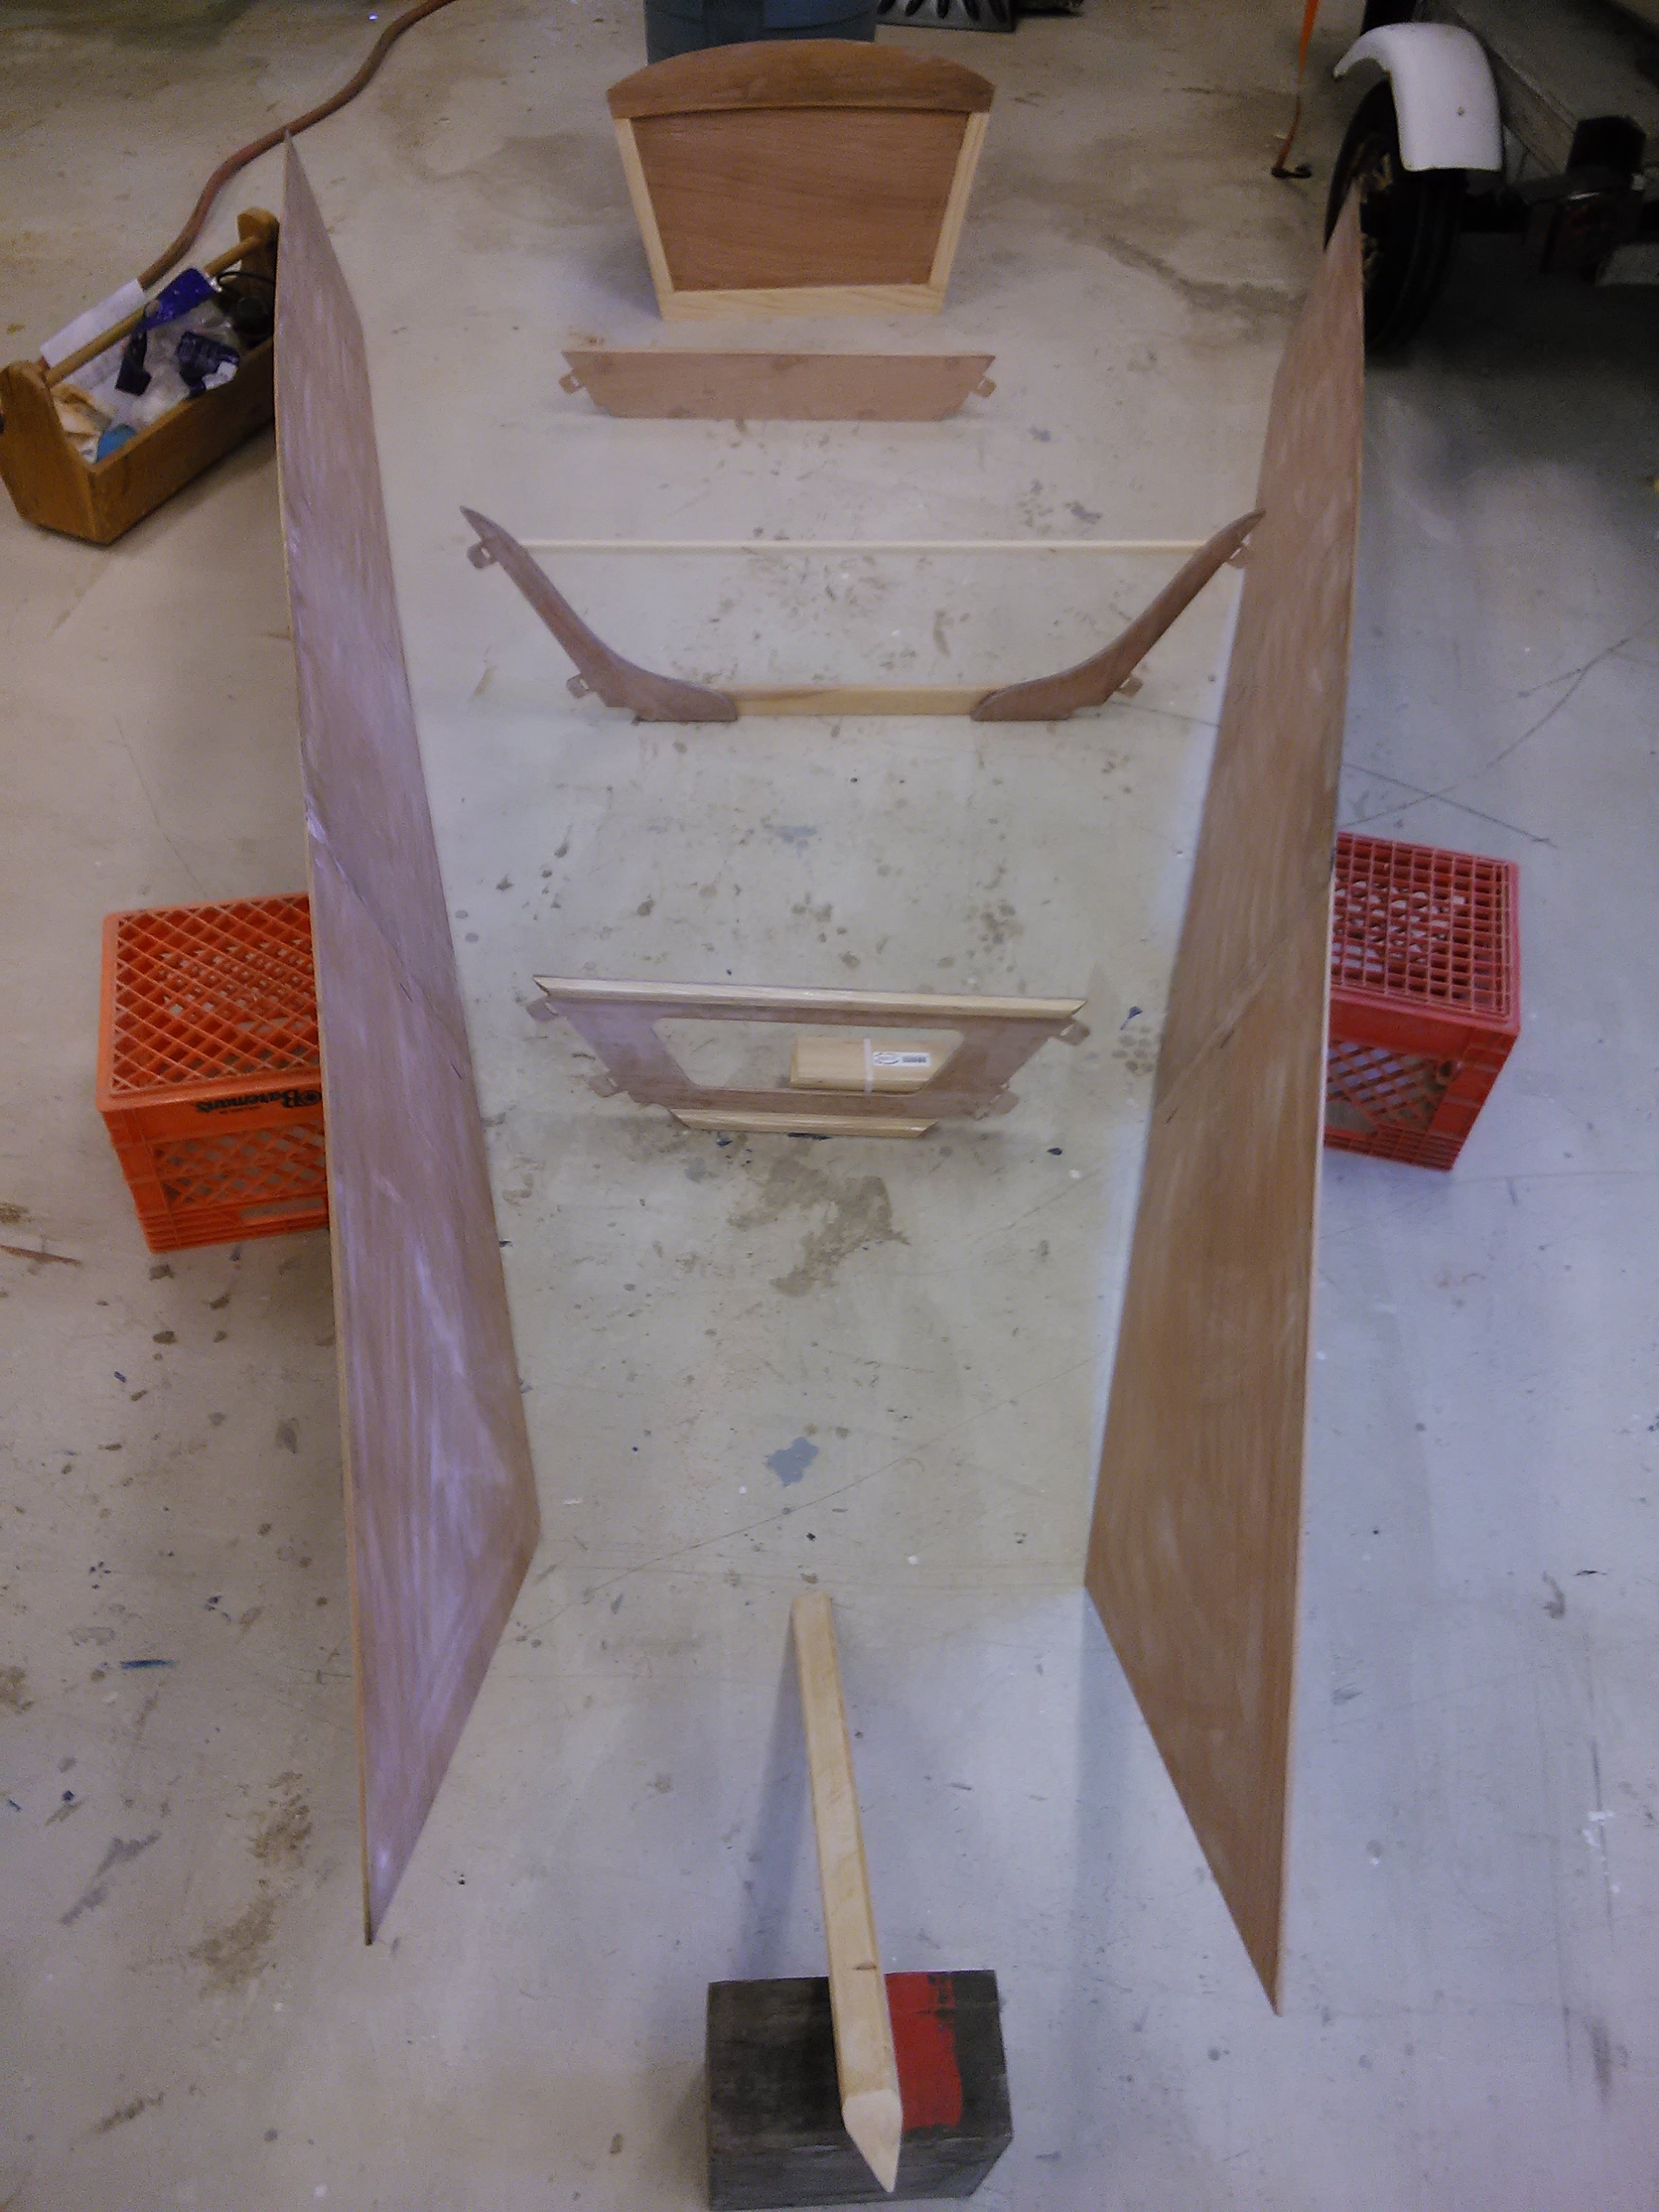
Layout
The planks were glued and now all the parts are ready to go.
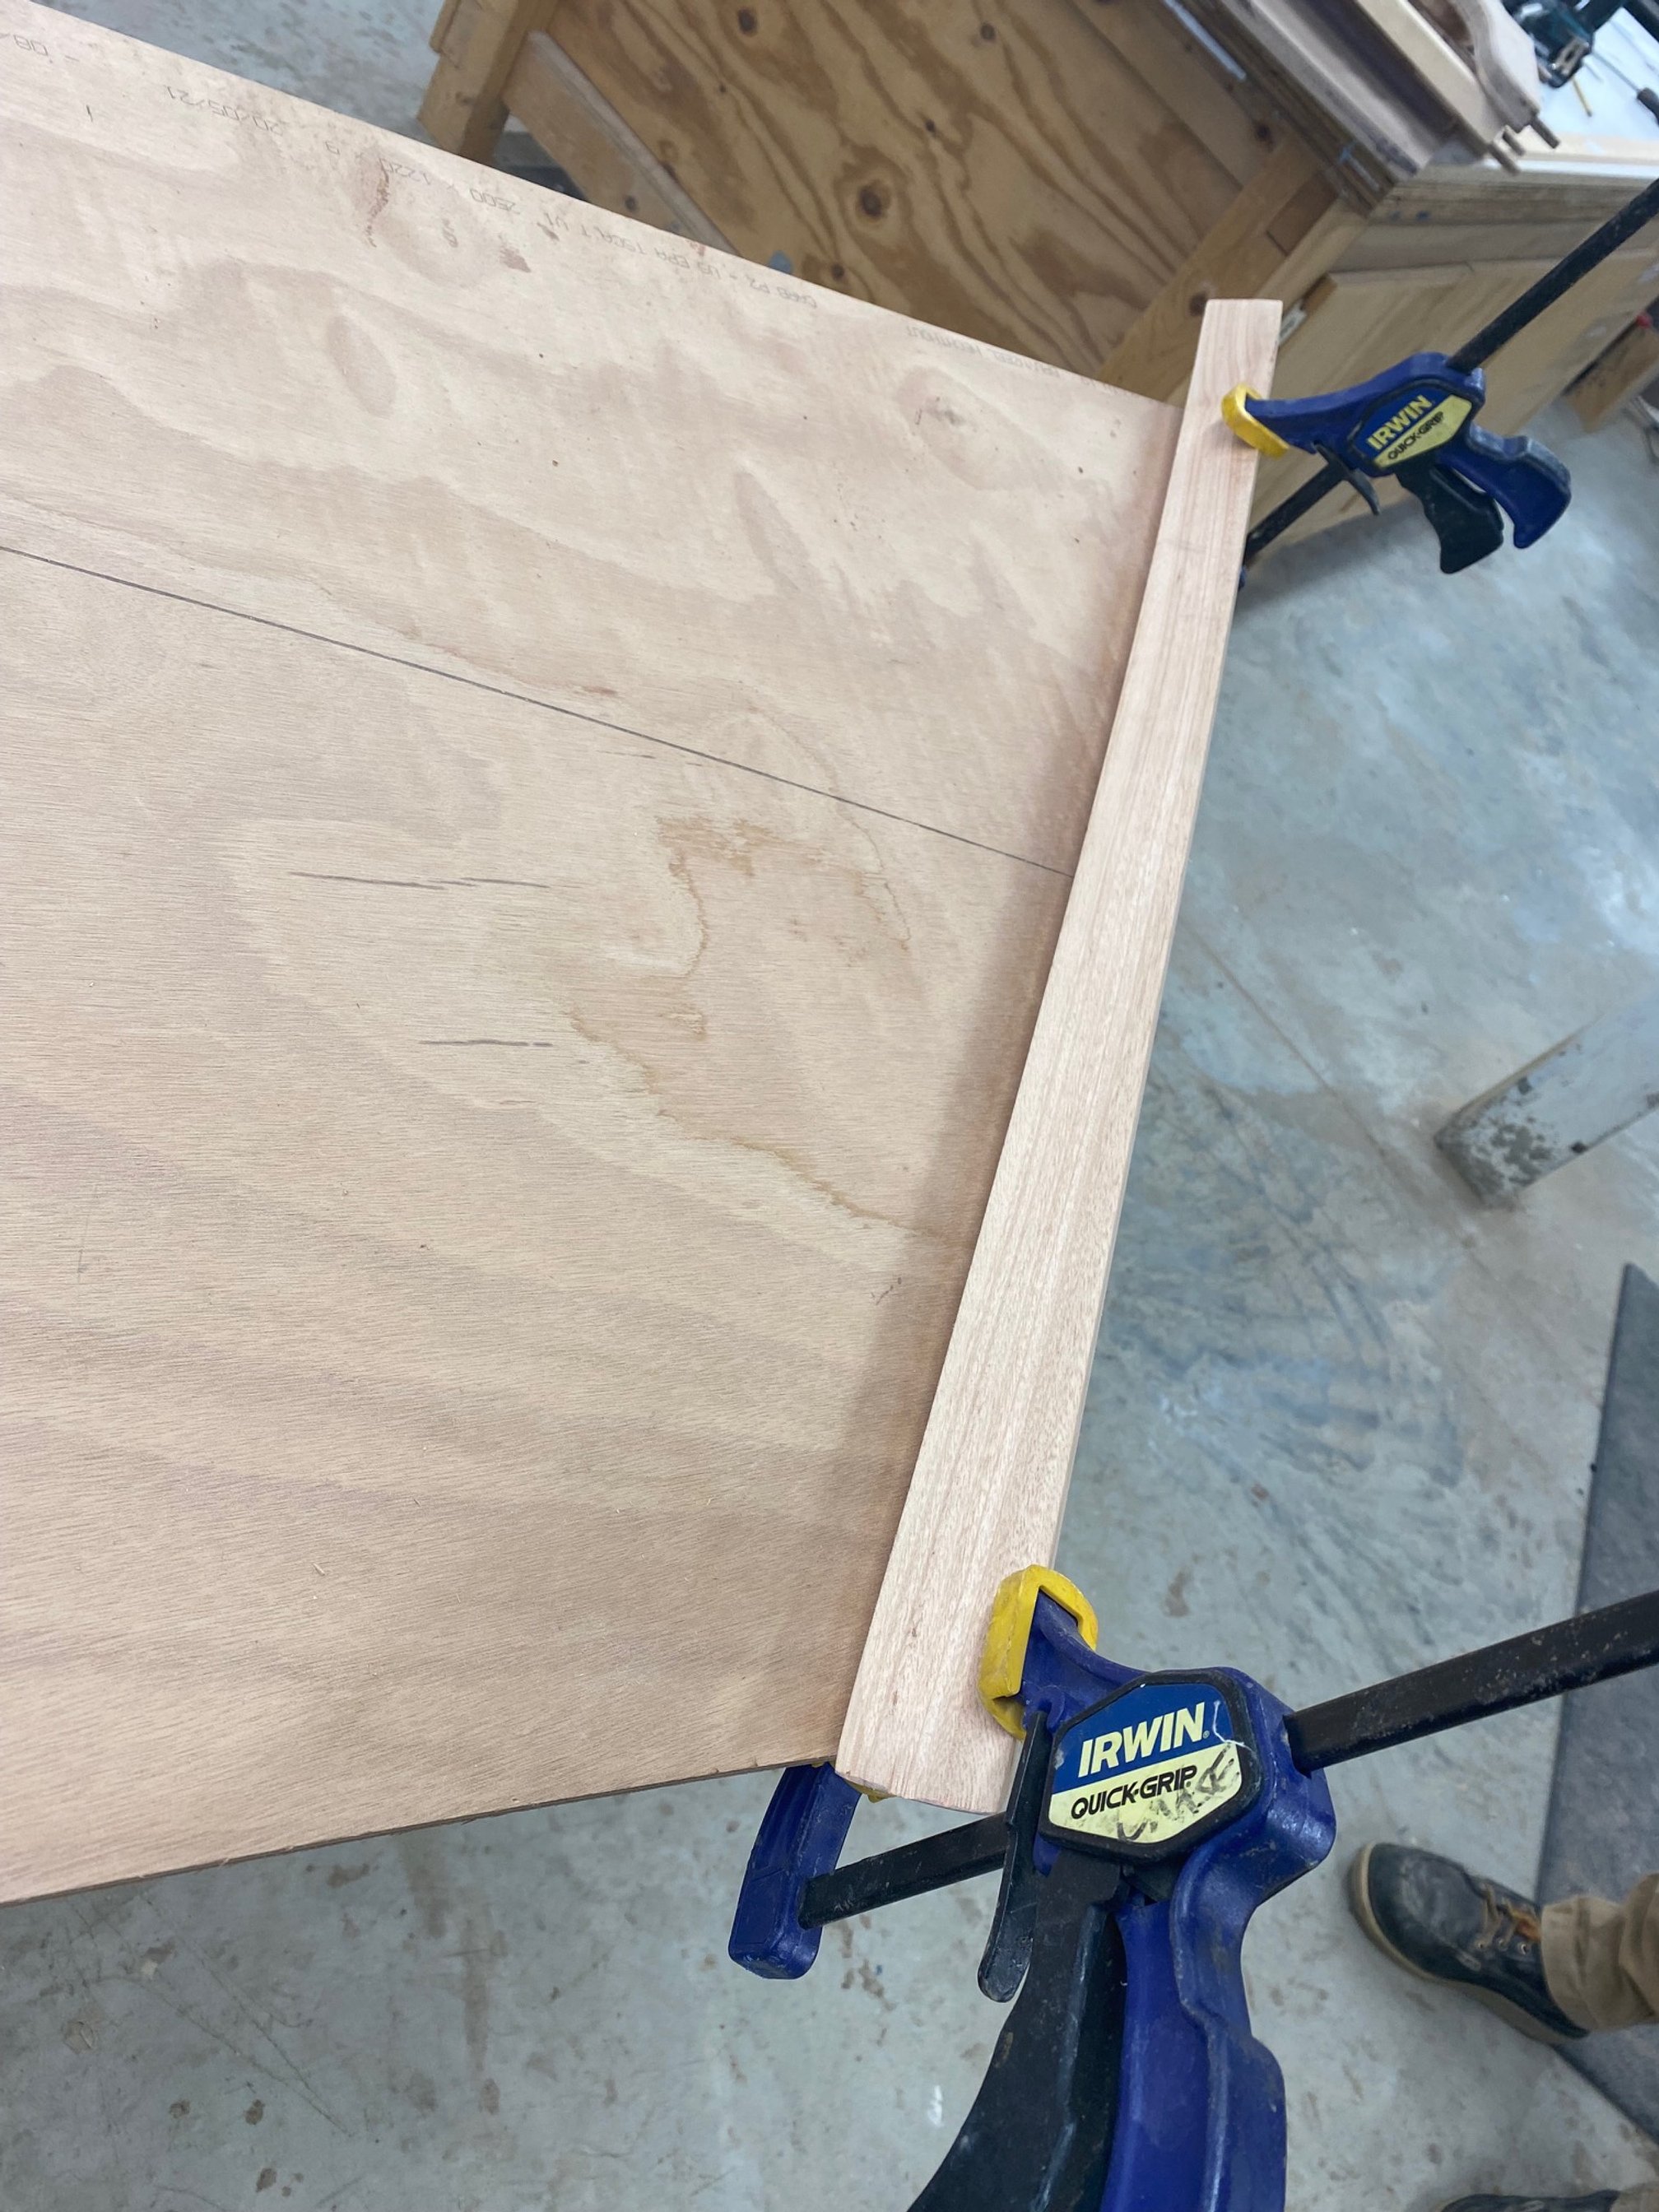
Stem
The stem comes precut in the kits and is screwed and glued to the side panels where they join at the bow. The angle is already cut so all people need to do is attach and add screws and glue.
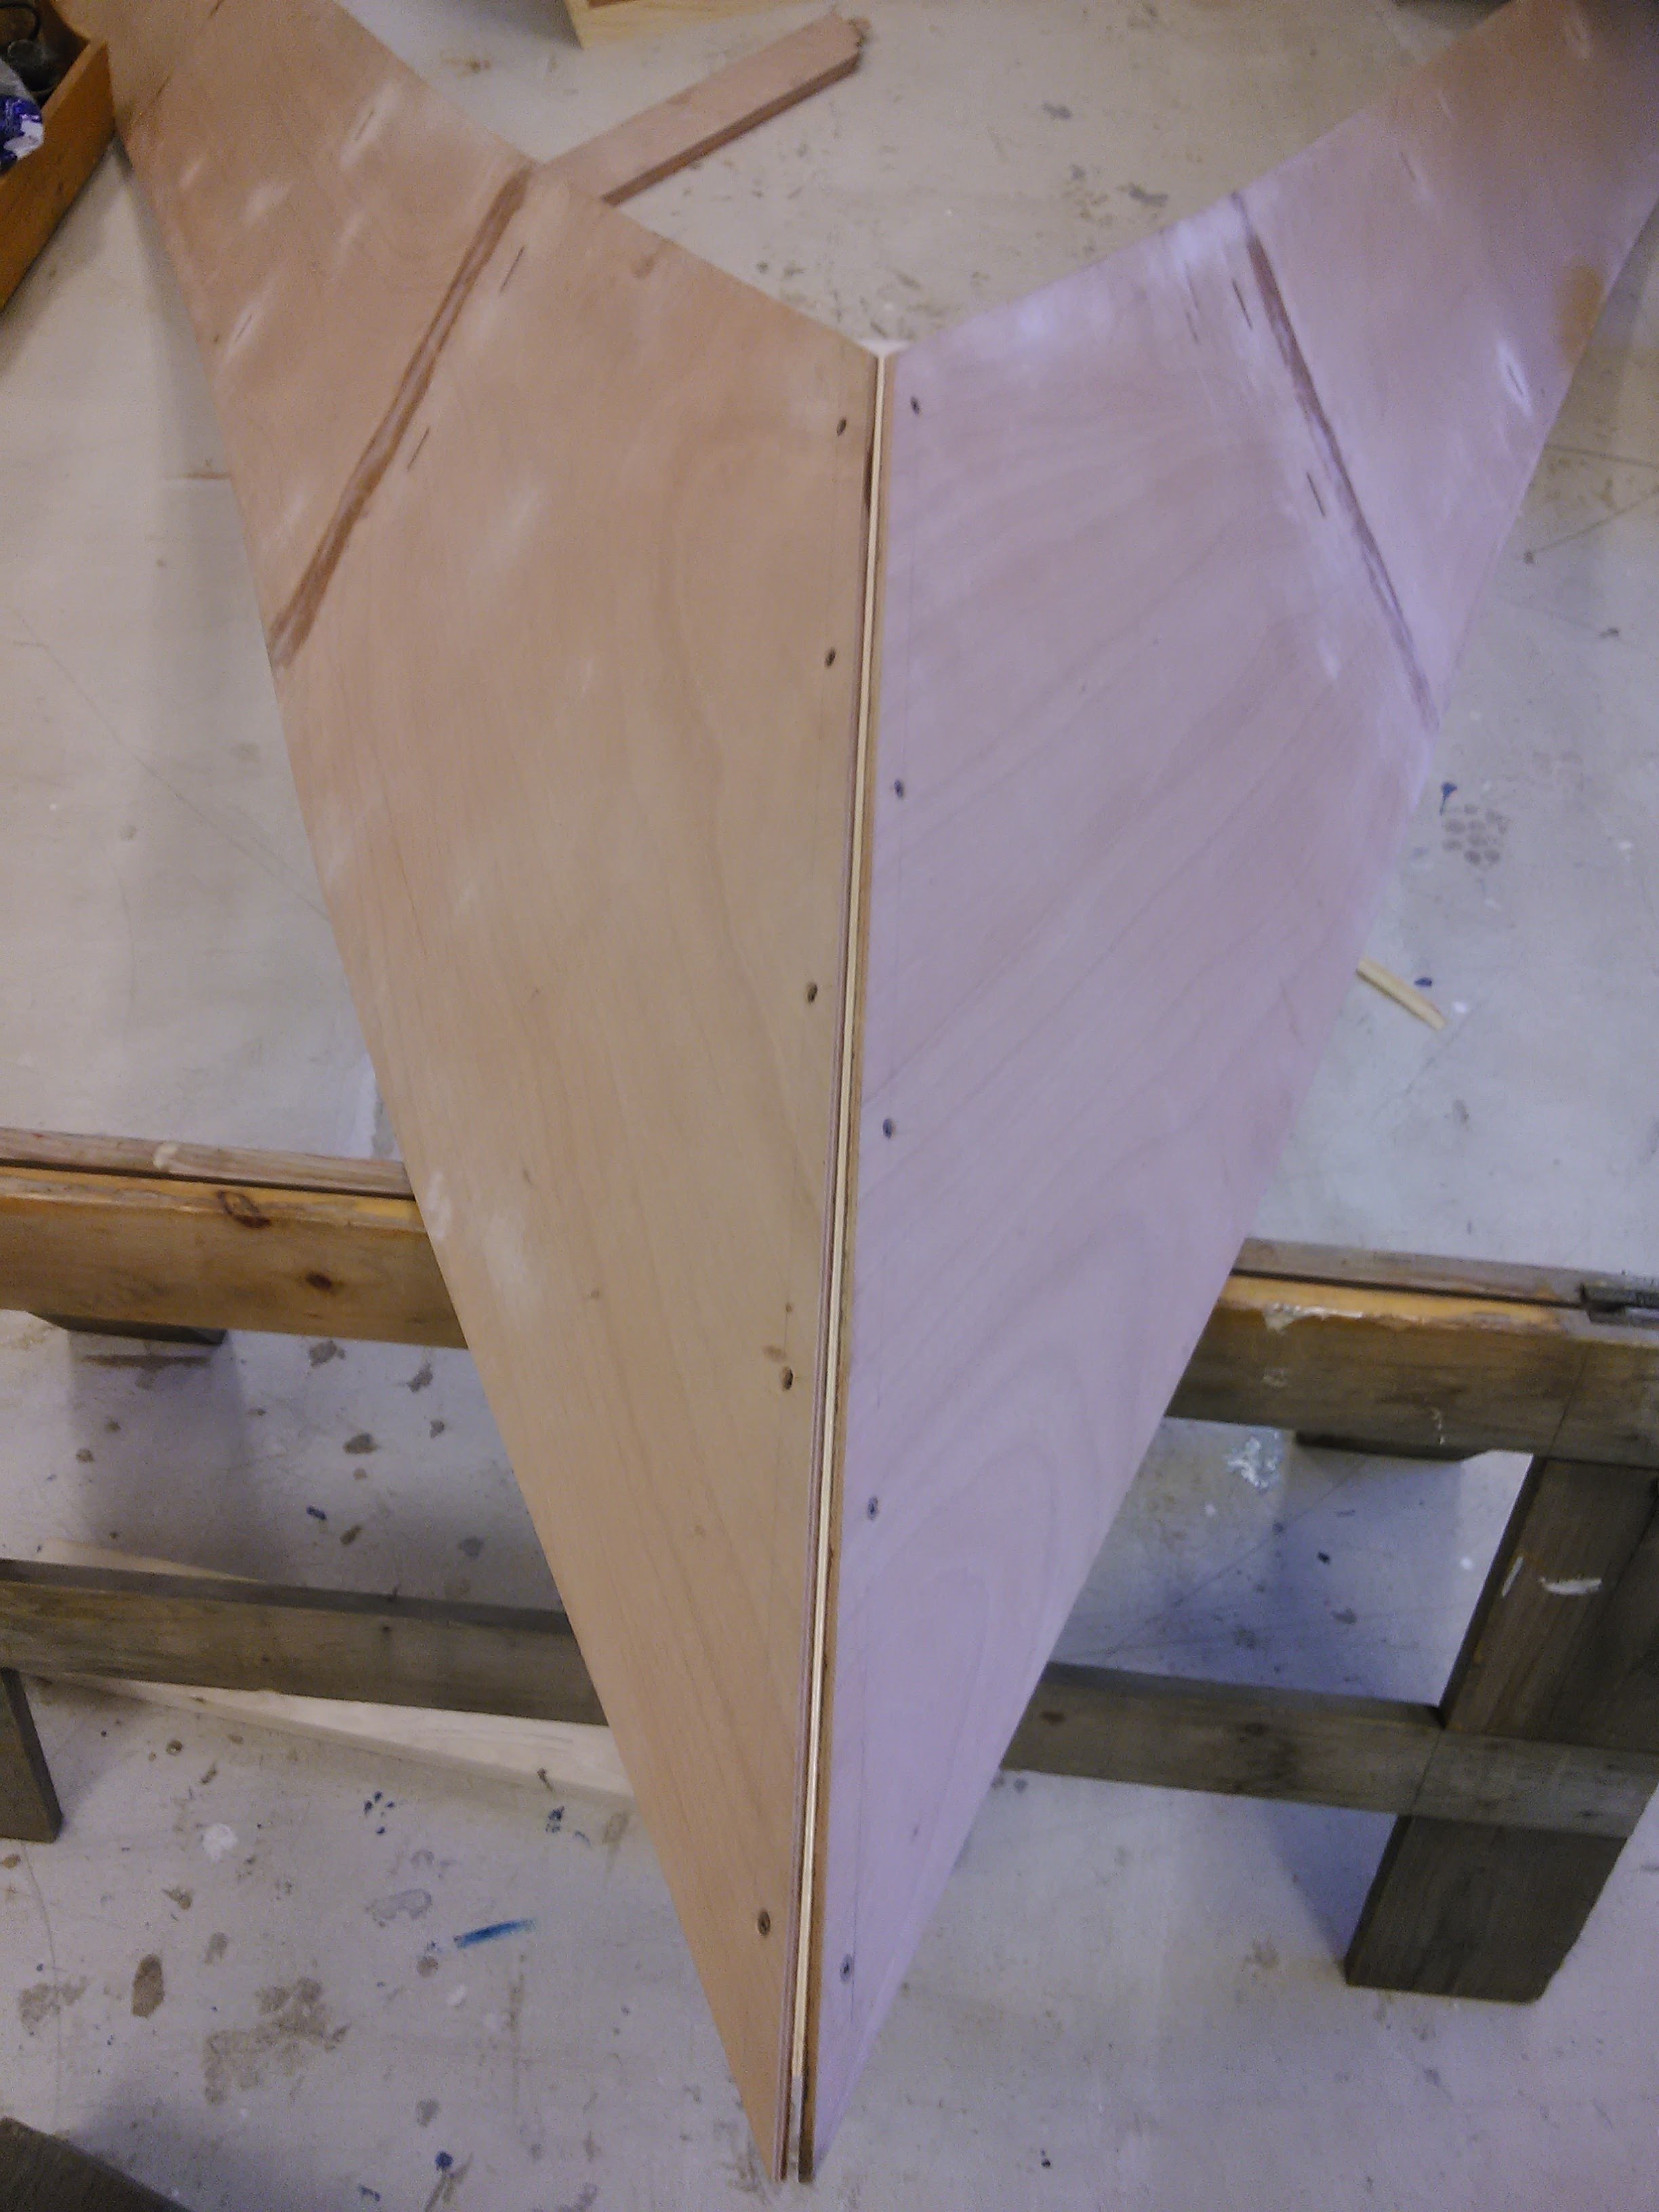
Bow joined
The first step

Almost there
Each bulkhead and the midship frame is installed “dry” (no glue) by inserting the tabs on the frames into the slots on the plank.
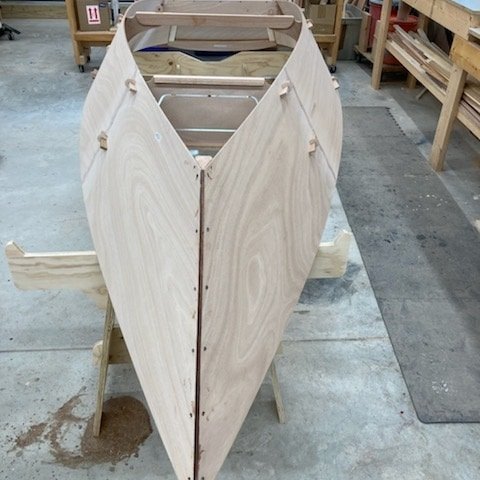
Sides formed
The transom is installed and the bulkheads and frame are glue “in-situ” meaning they do not need to be removed to be glued in. A tube of epoxy with a mixing tip is used to inject glue into each joint and the wedges are righted on the outside of the hull.
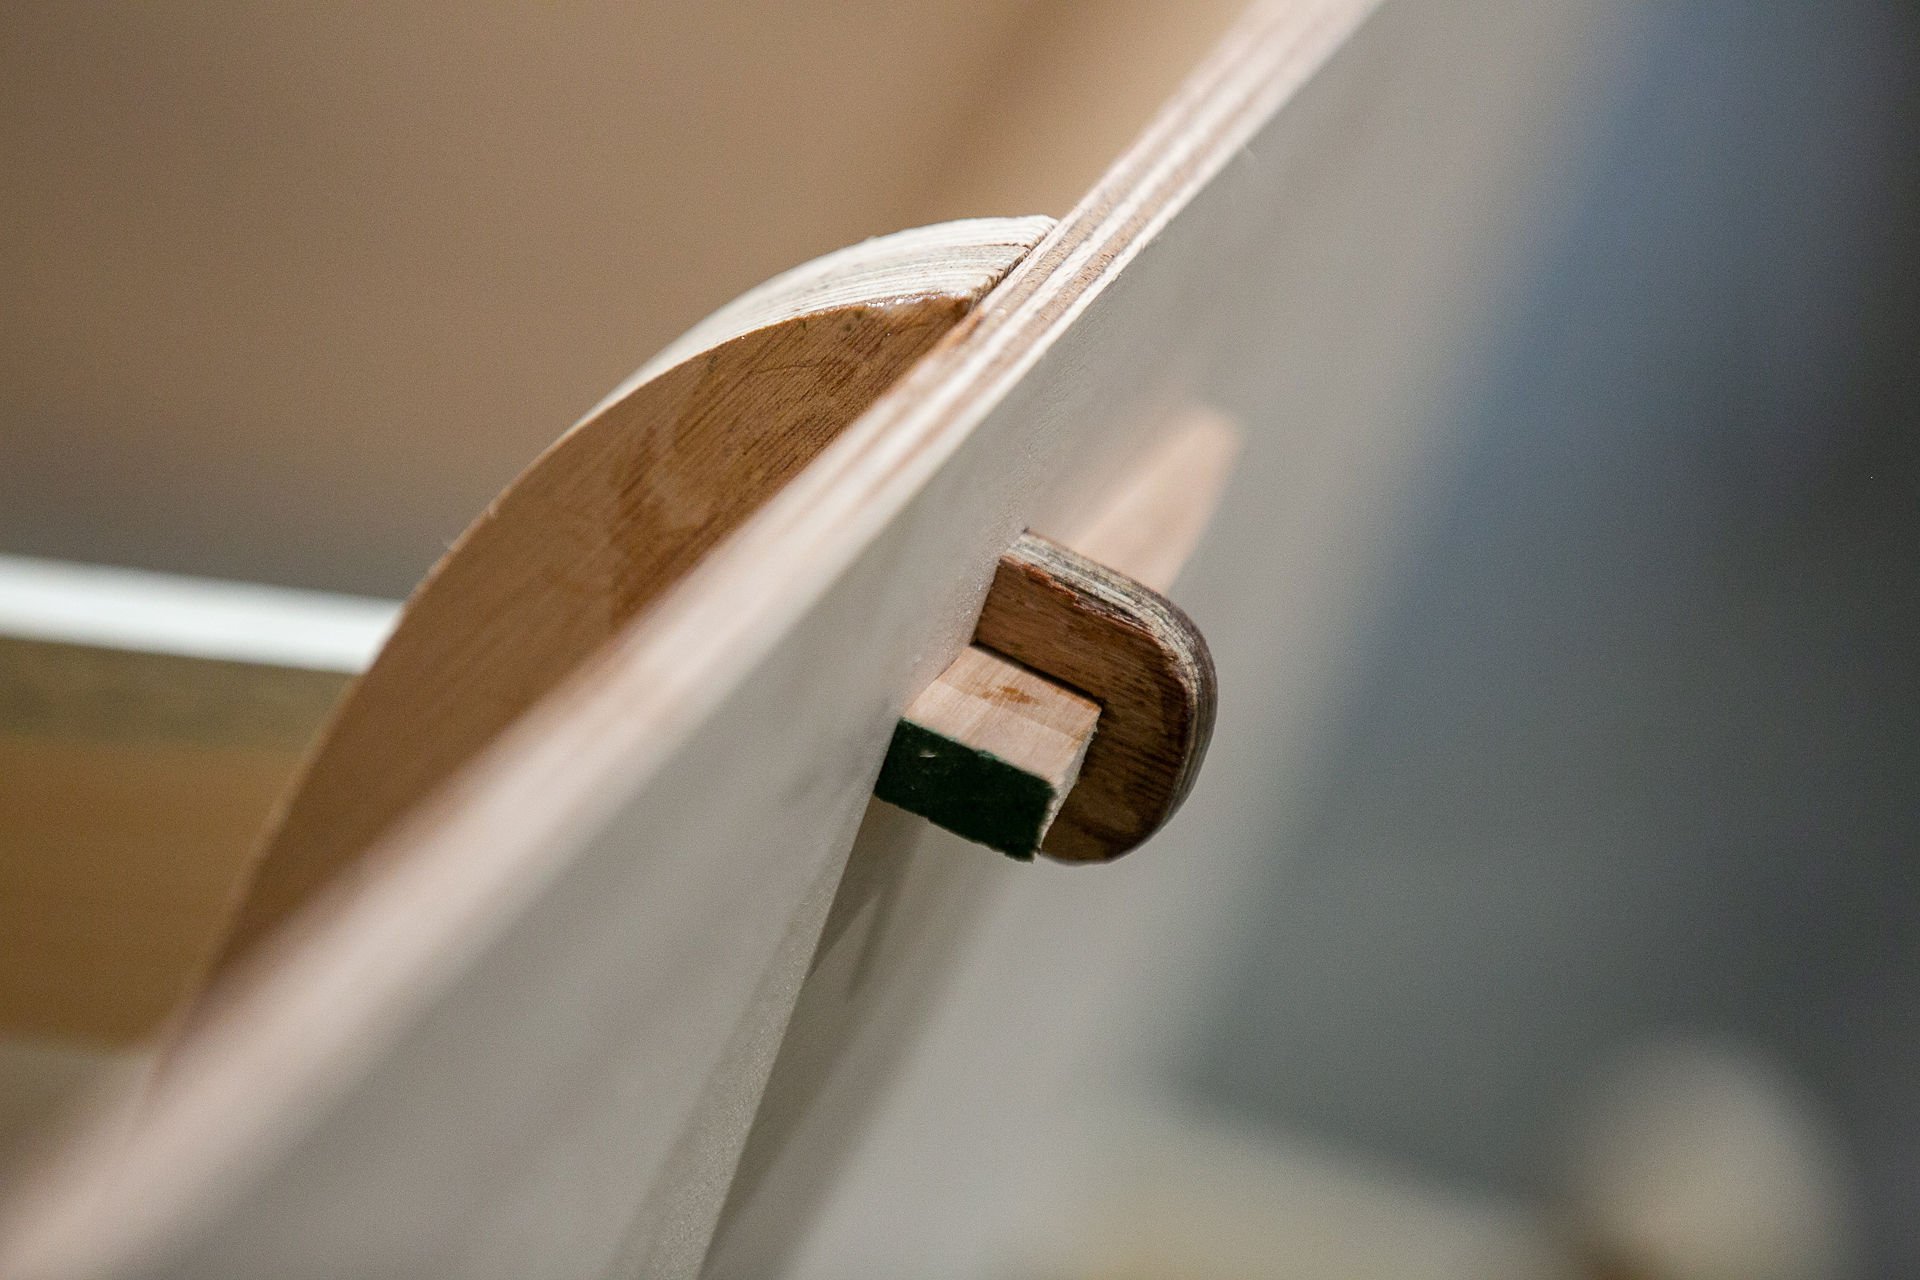
Tab-n-lock
This shows the relationship between tab and plank with the edge to hold things together until the glue cures. Later, the tab is cut flush.
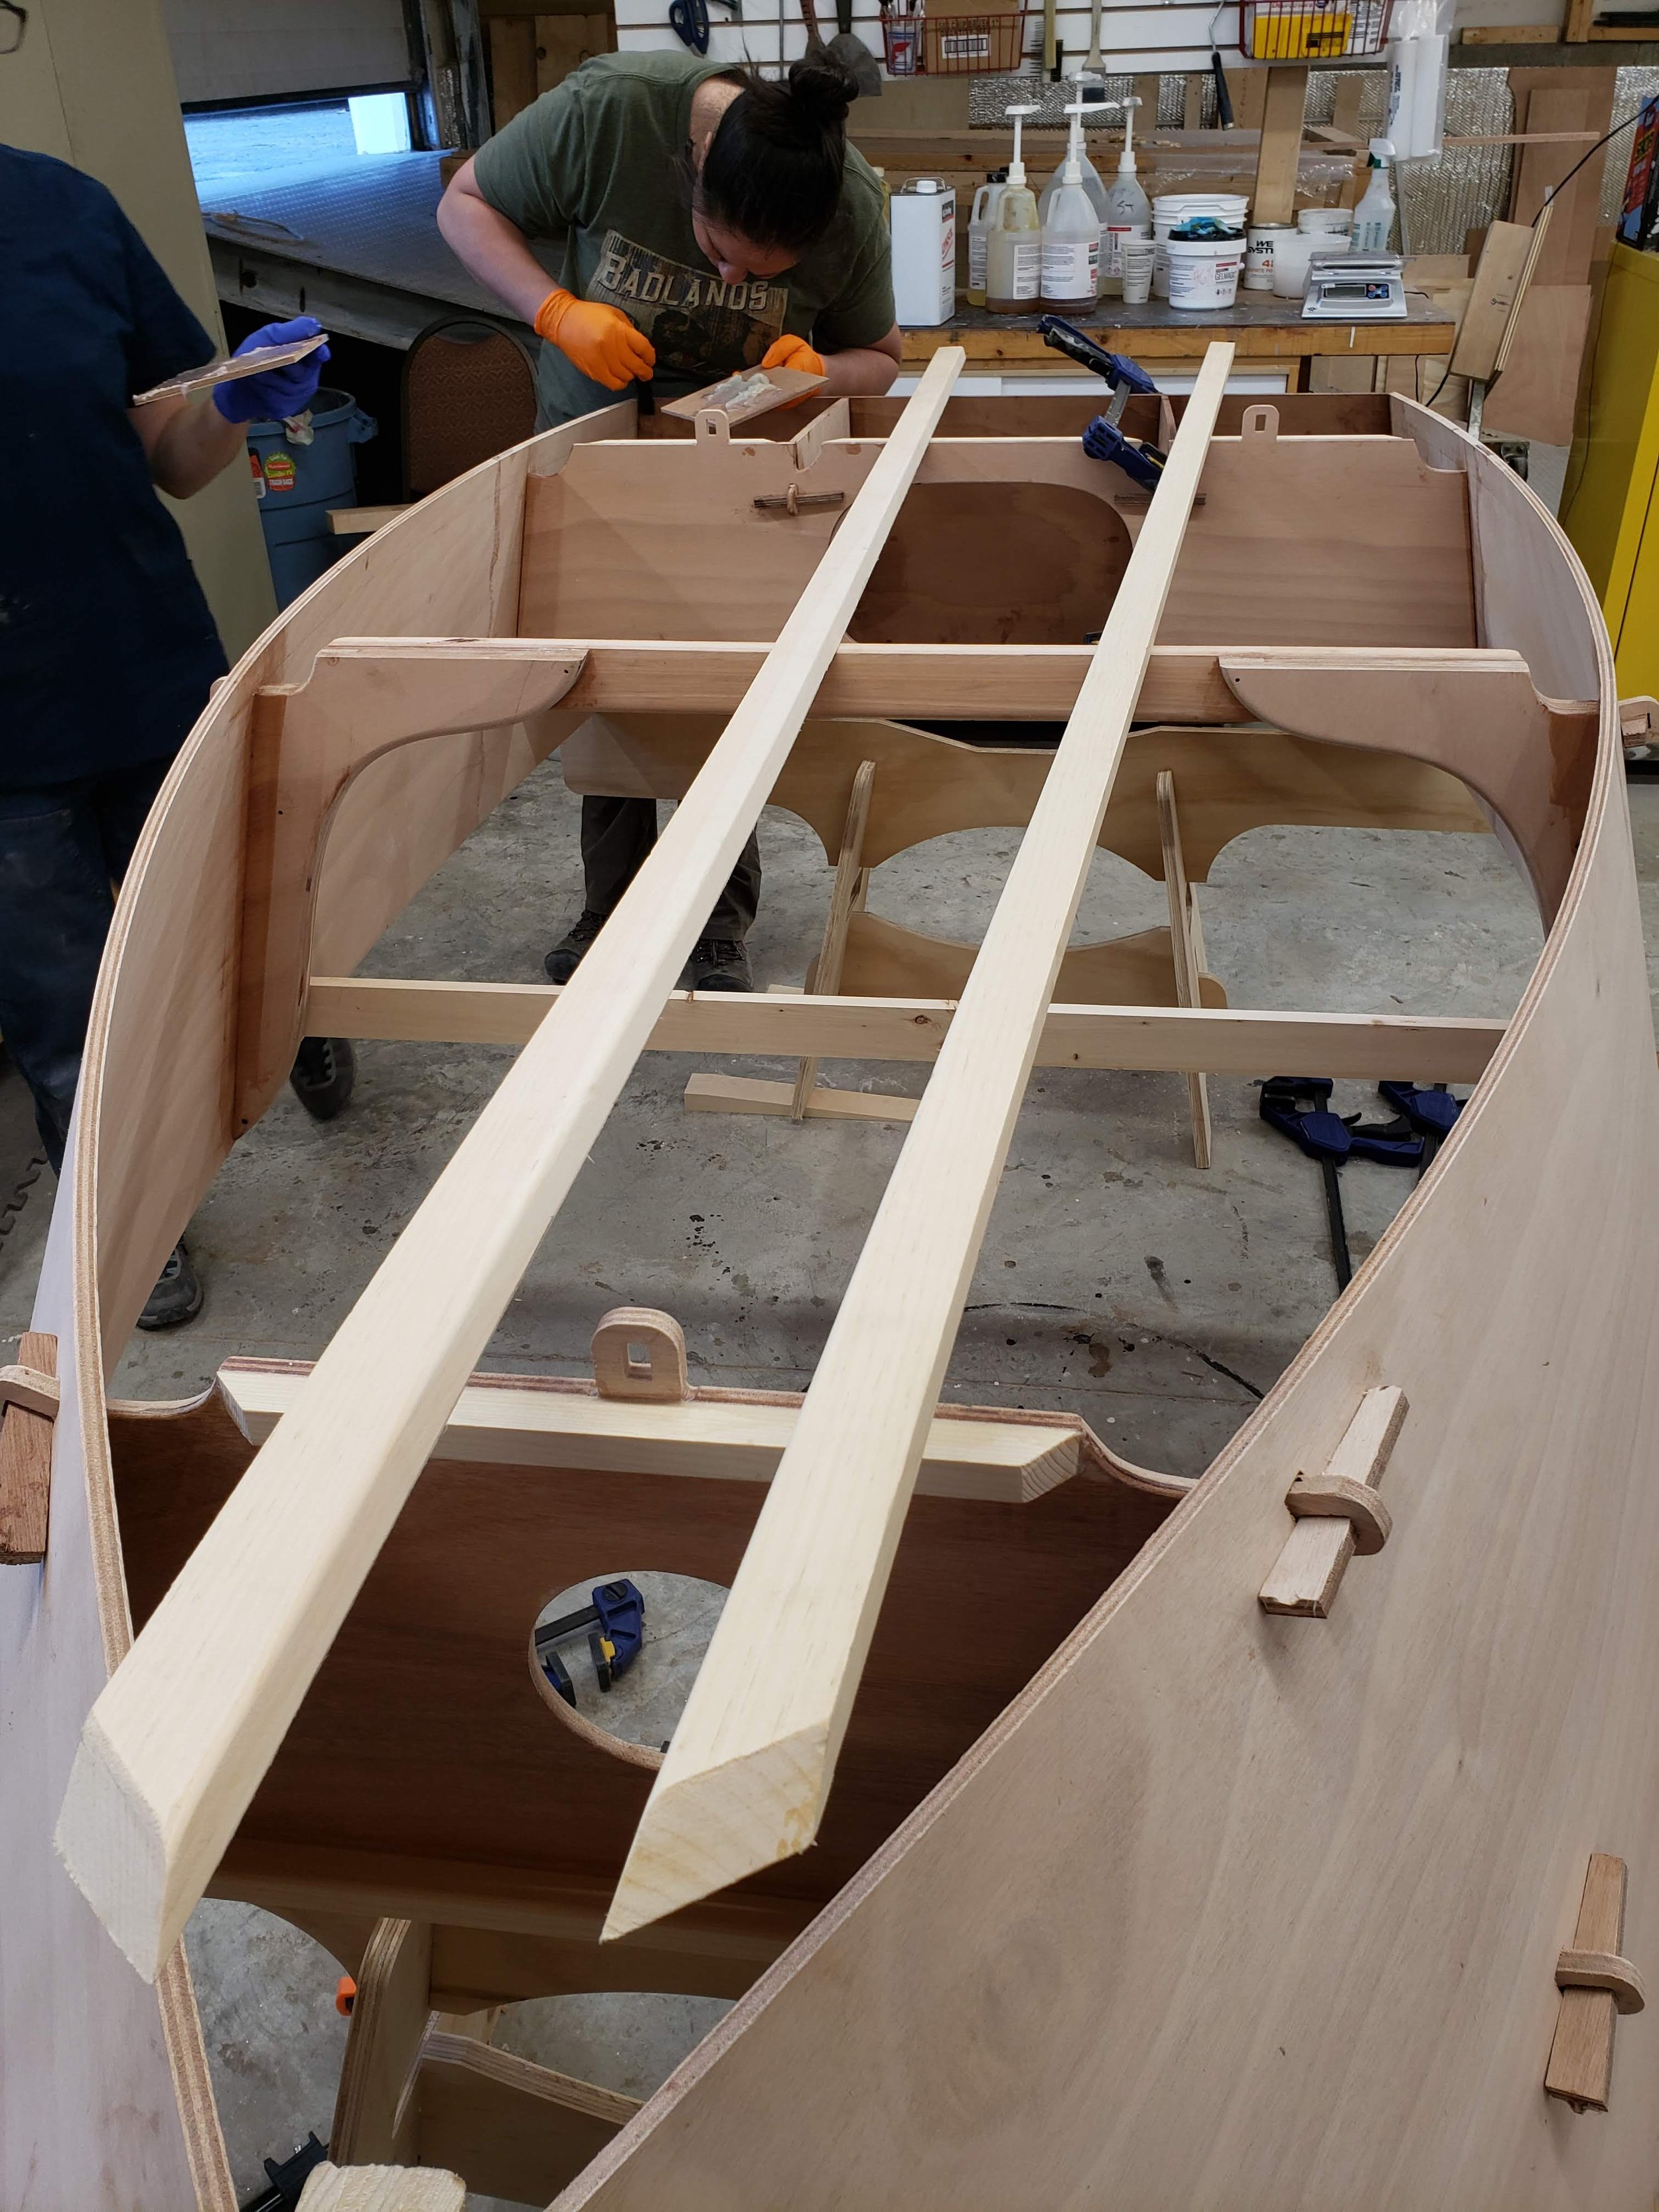
Chine logs
Another huge difference between stitch-and-glue and the Chase system is the use of chine logs made from either cedar or a light hardwood. They bend in along the bottom of the plank and are held in with clamps until the glue cures.
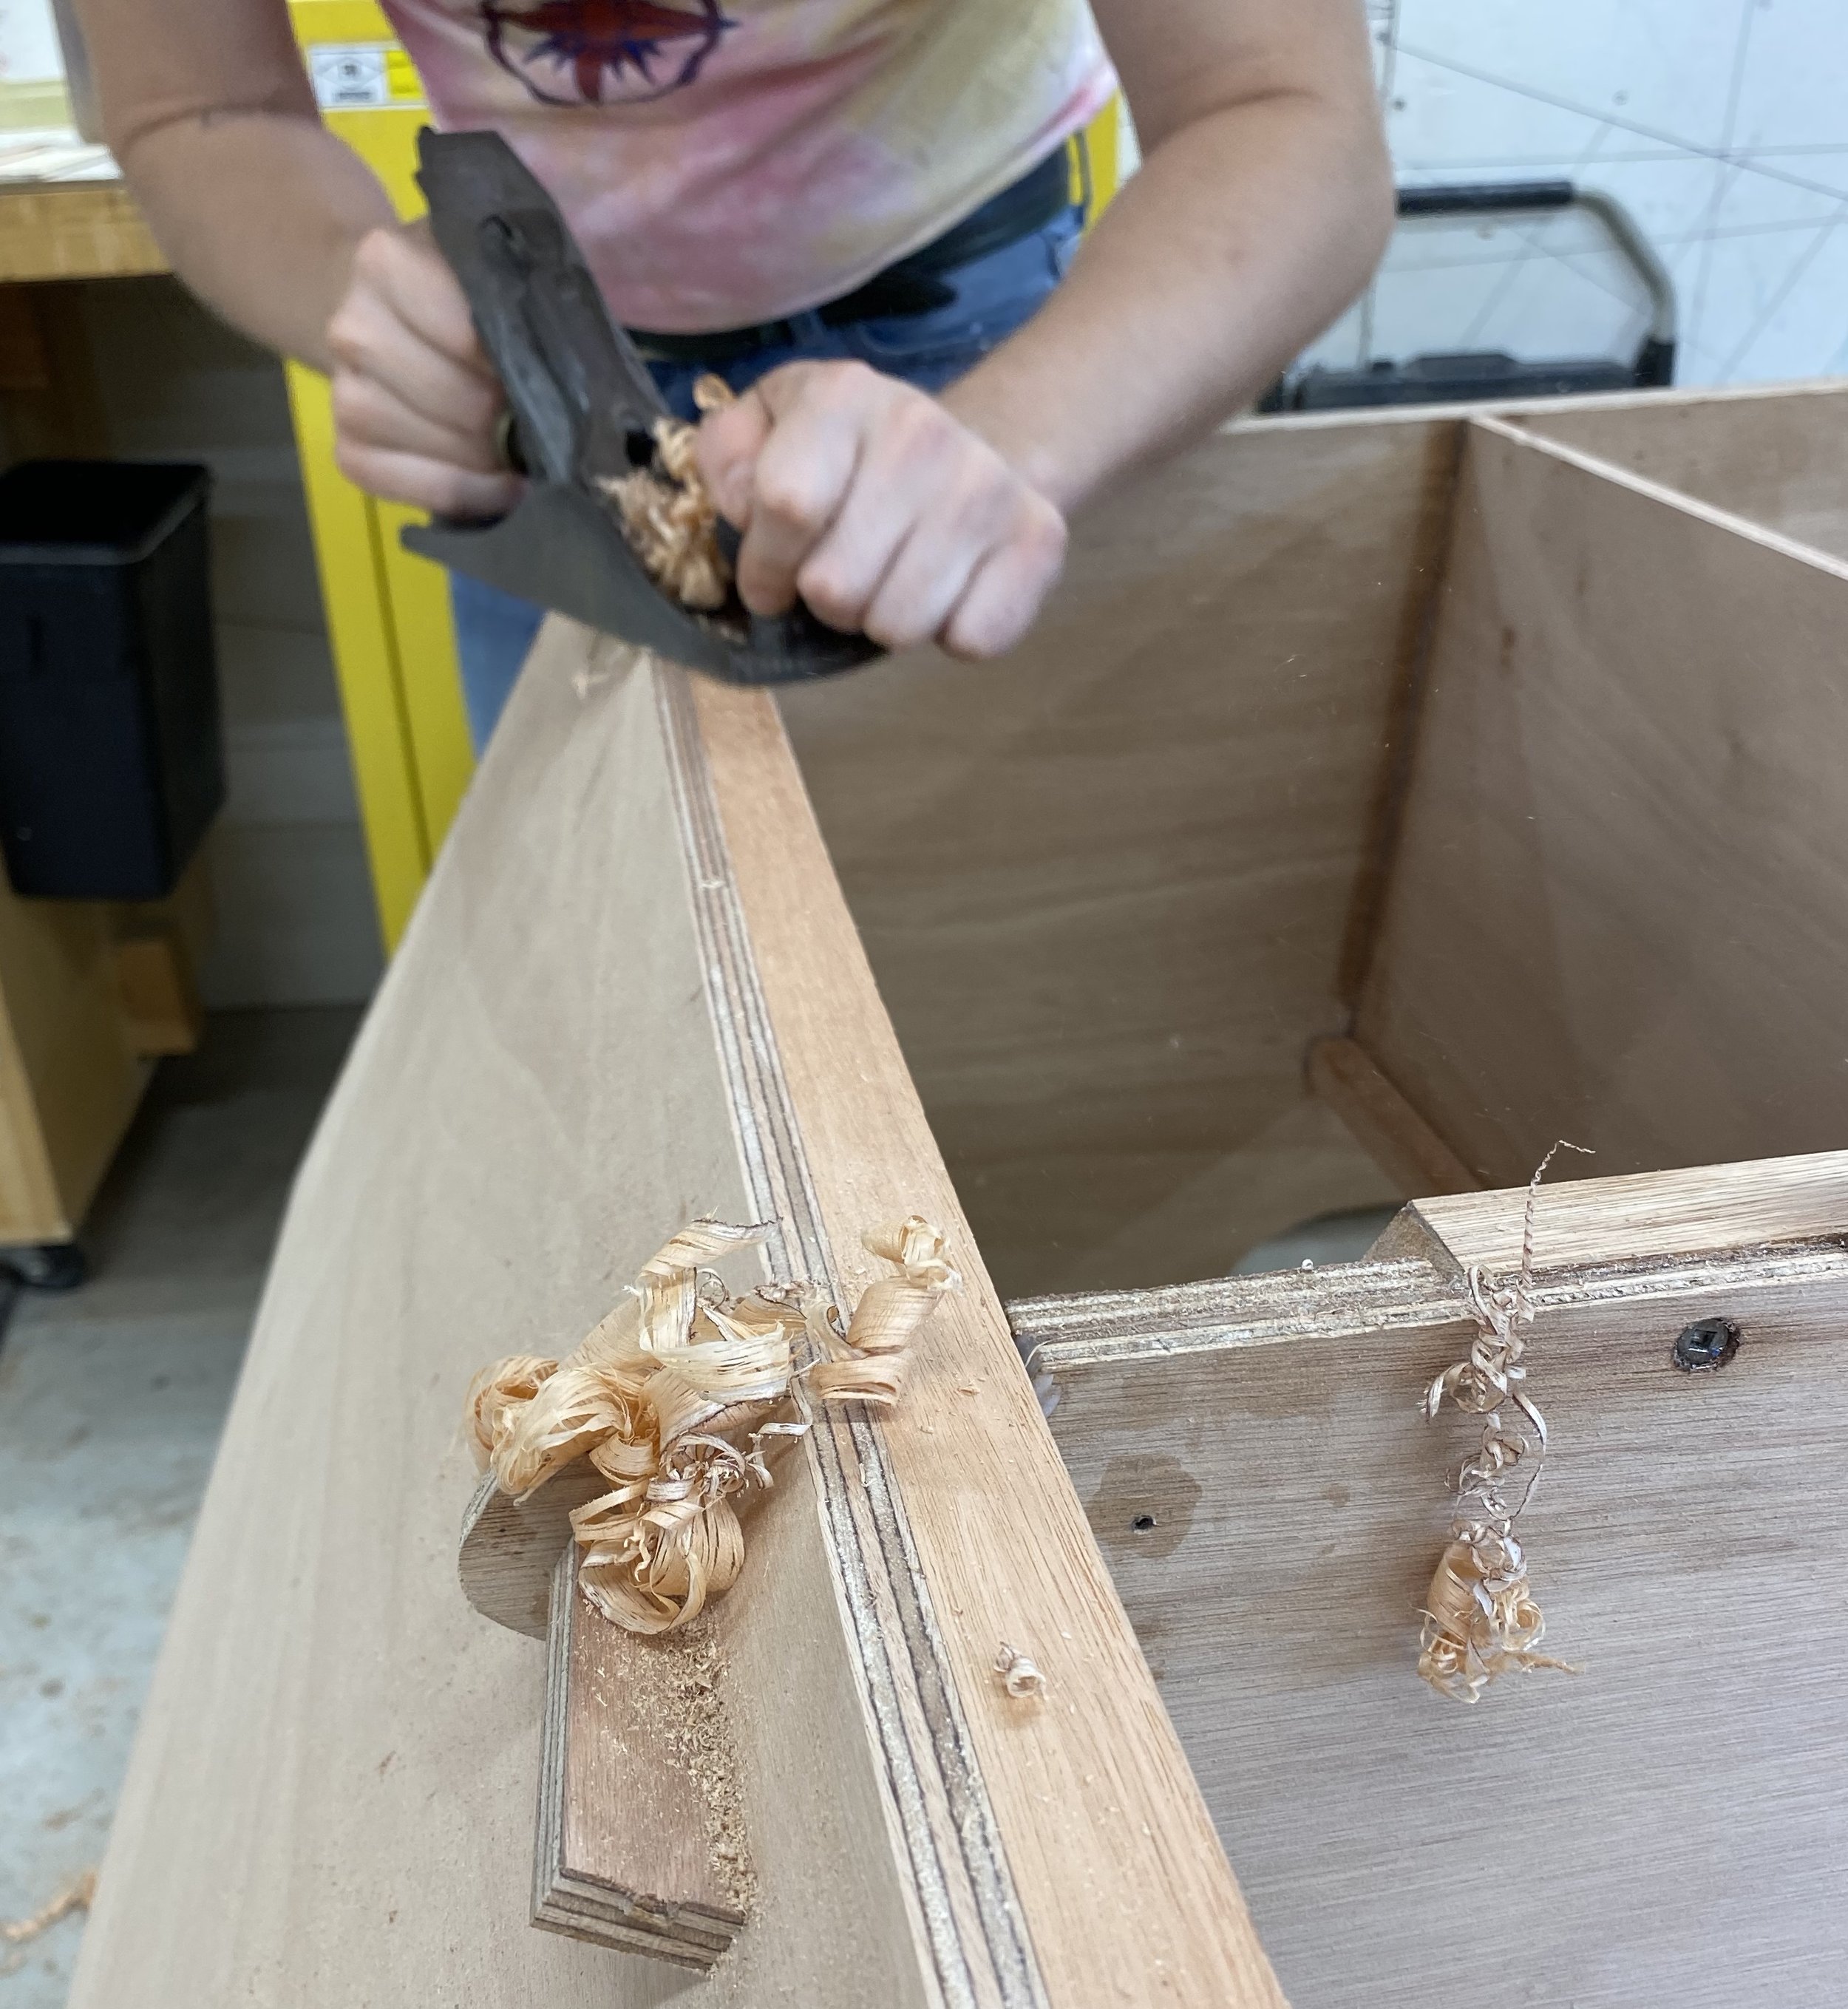
Planing chines
After the glue cures, the chines are planed down with a block plane to make a flat perimeter for the bottom to attach to.
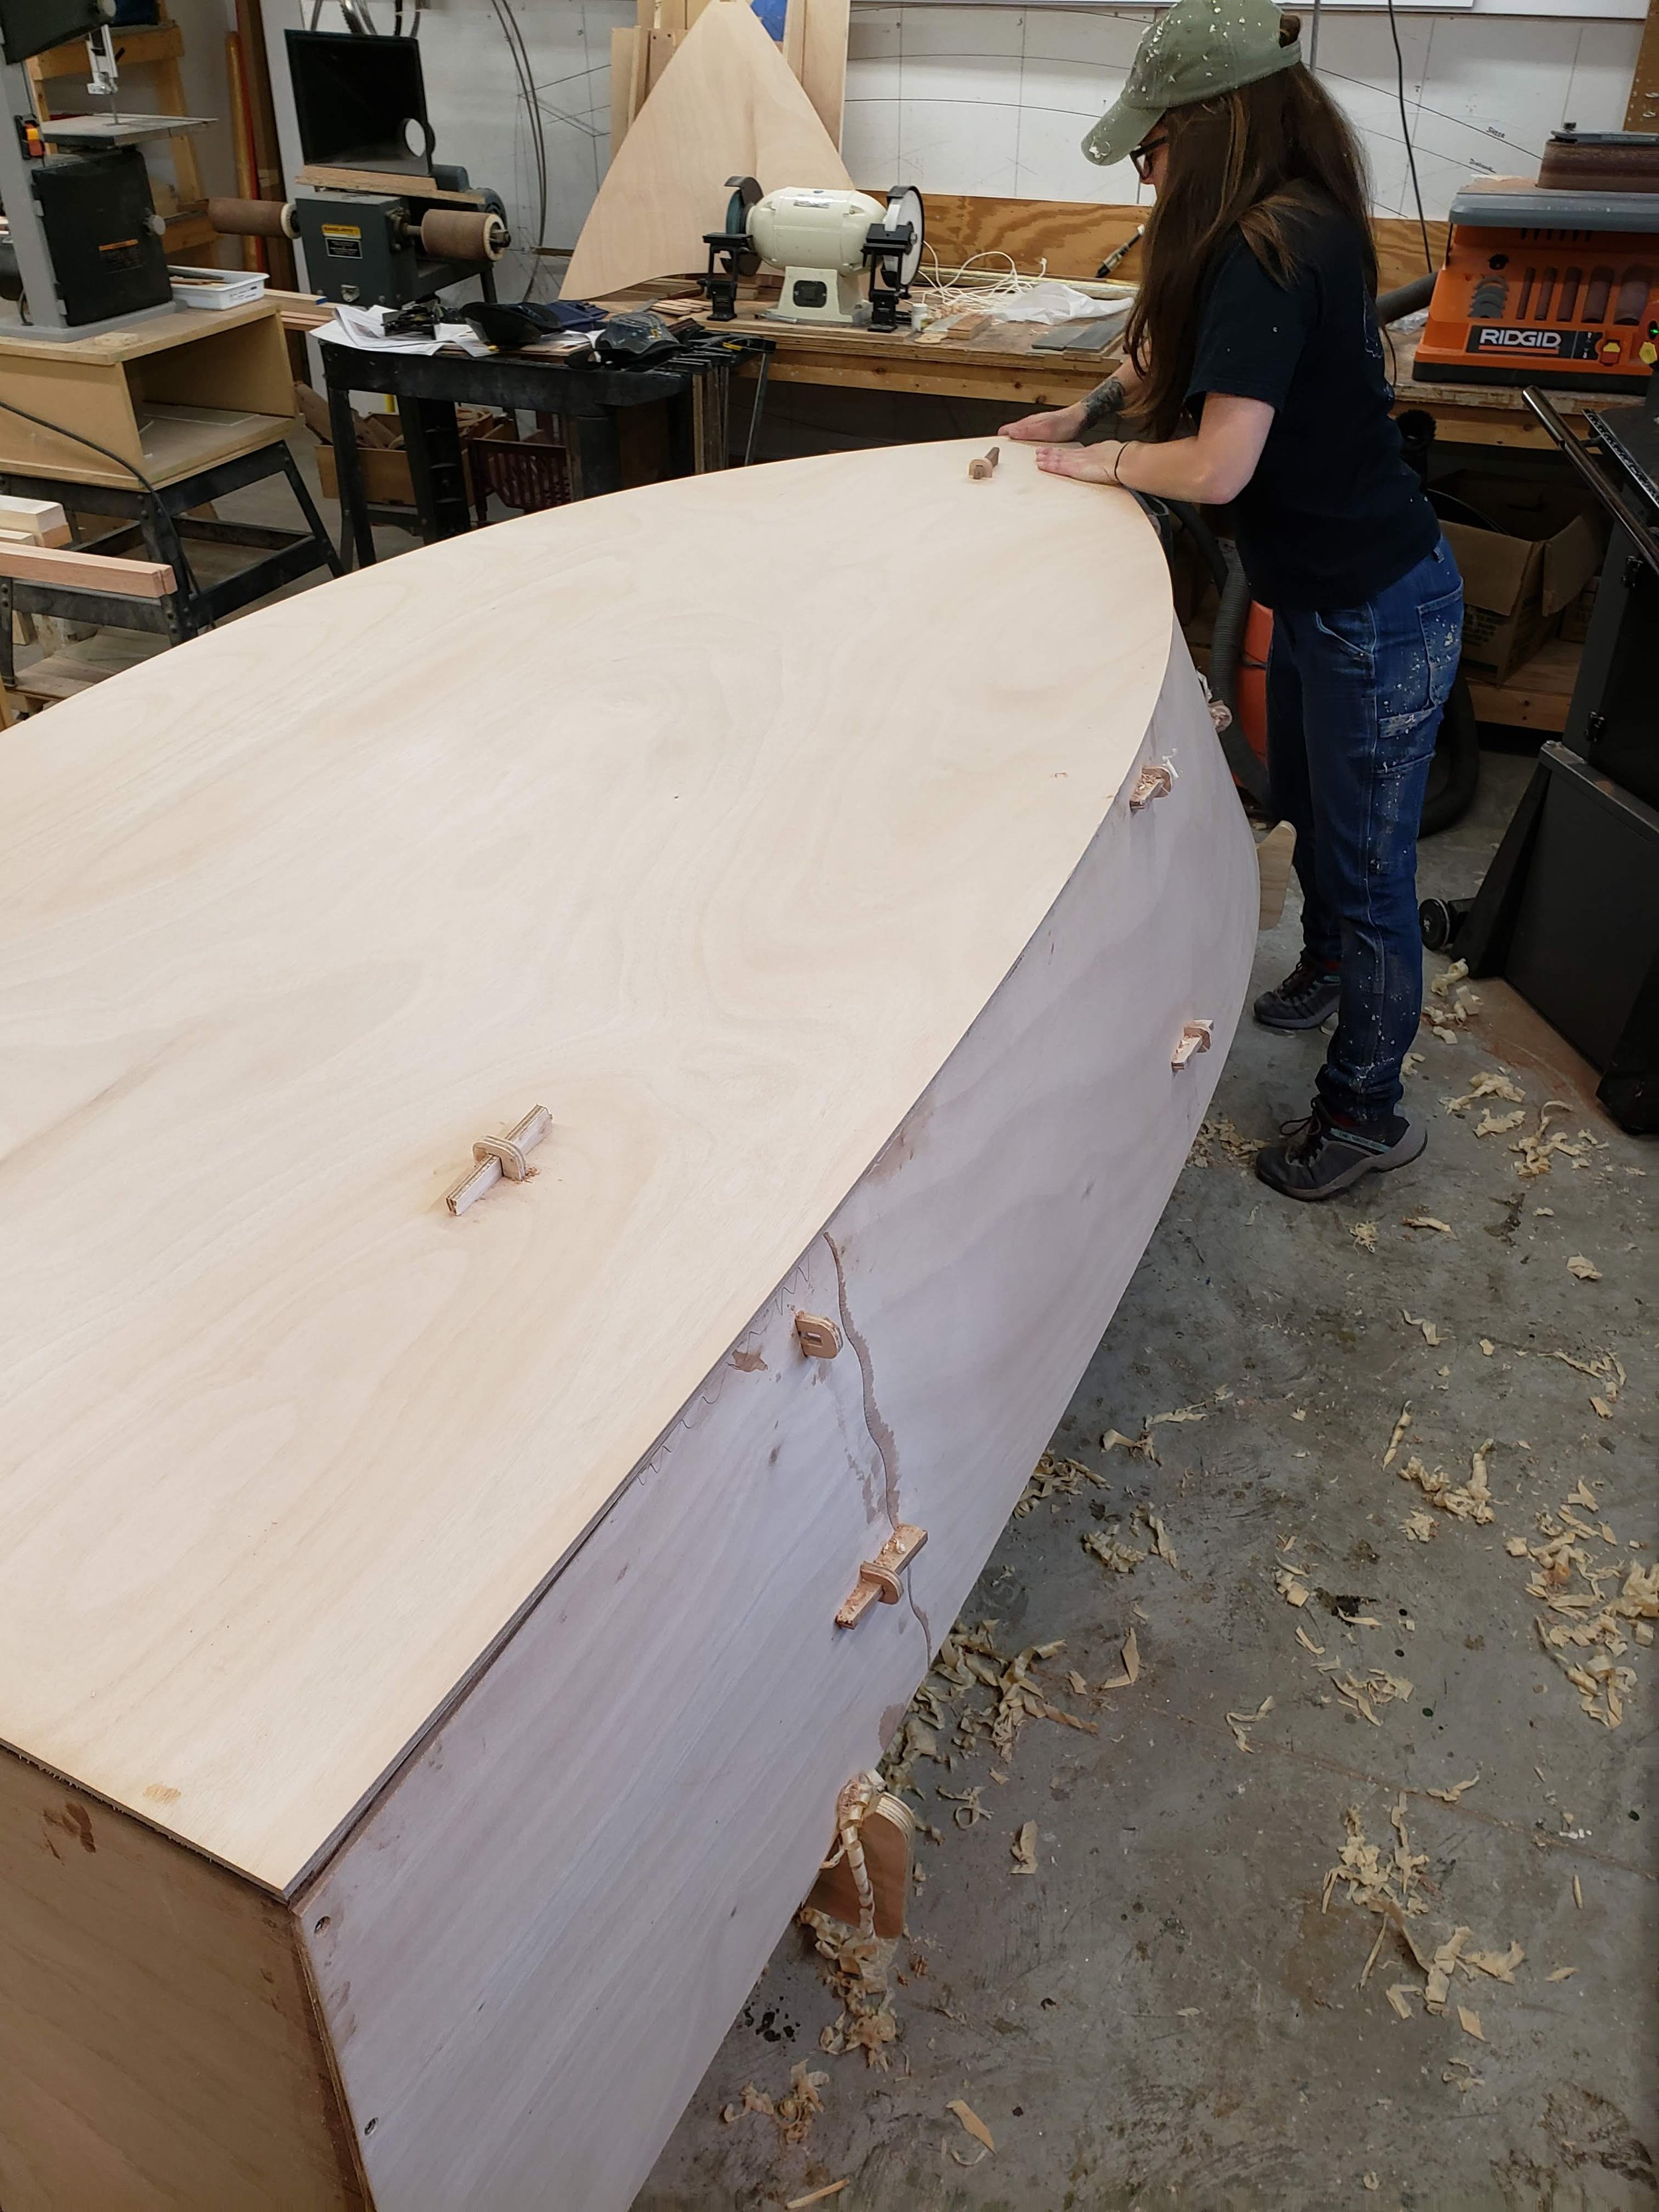
Bottoms down
The bottom panel is attached with the tab-n-lock method and the perimeter is screwed down to the chines and epoxied.
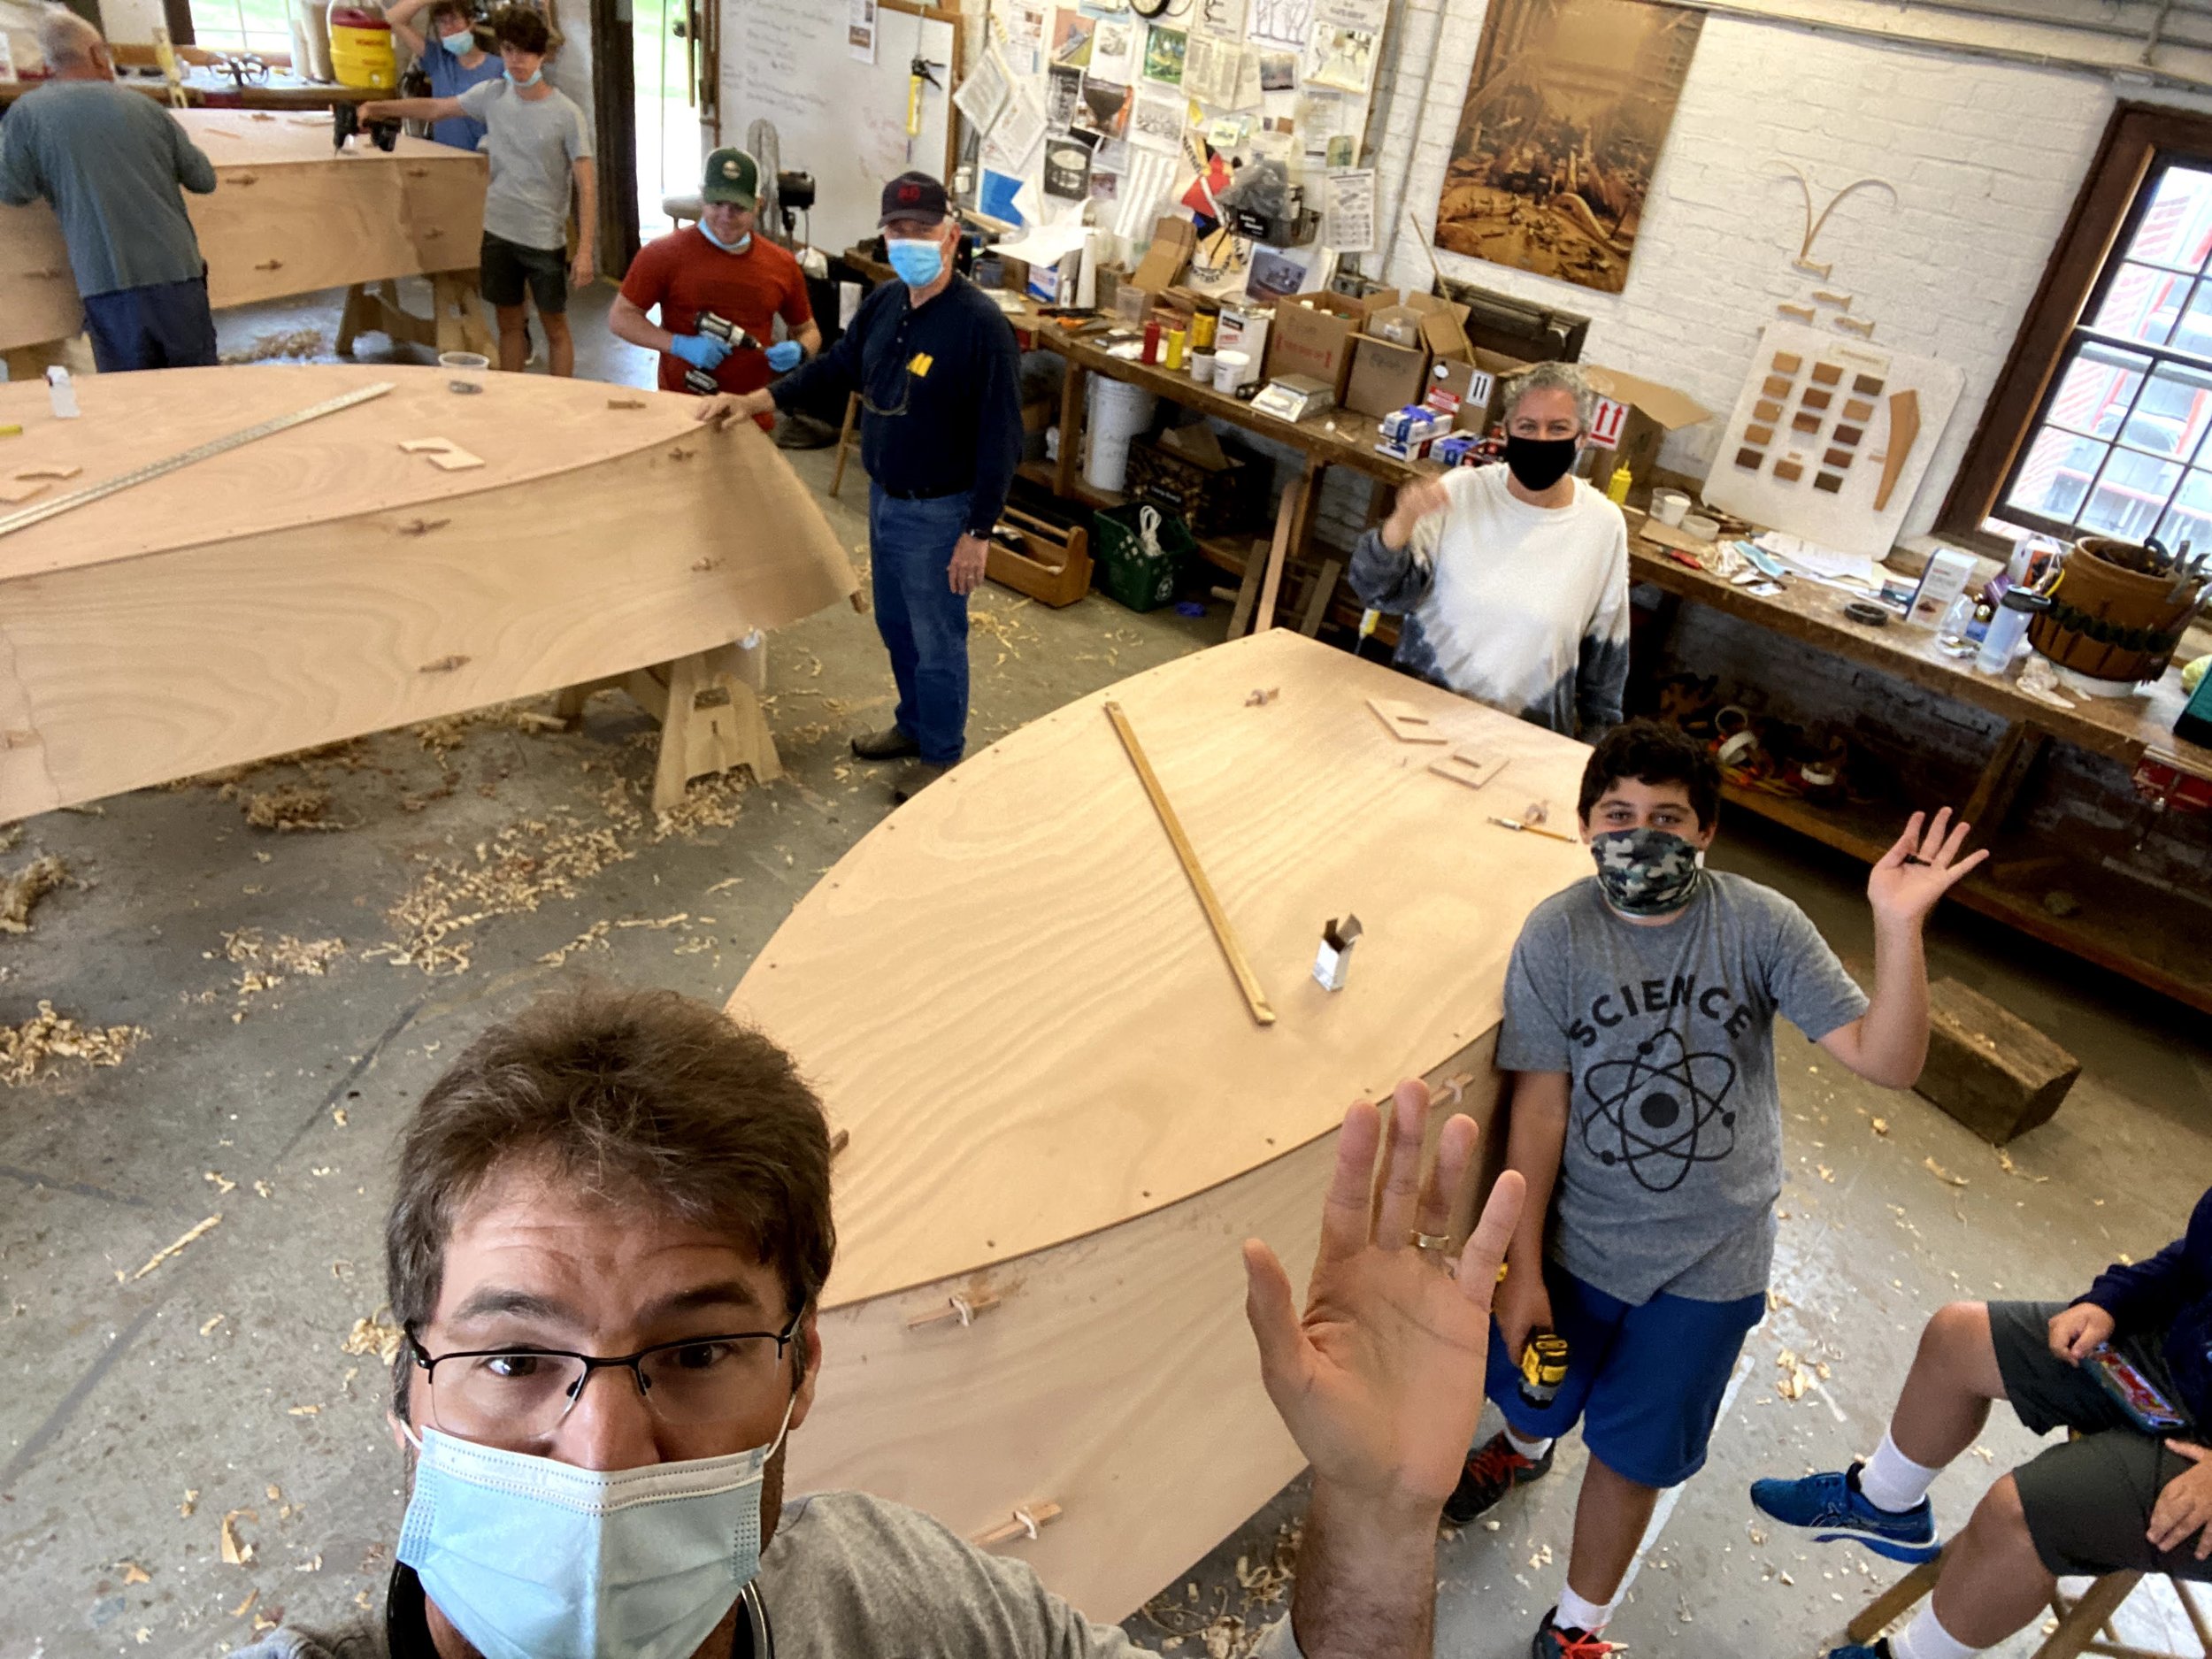
That is how a hull is built
These guys just finished the hull of there boats - they are structurally sound and could be launched the next day. All without any fiberglass, very little epoxy, and they got to learn some real boatbuilding skills along the way.


