Calendar Islands Yawl Update

The CIY is becoming Reality

A father son team builds CIY #1 in Duluth, MN.

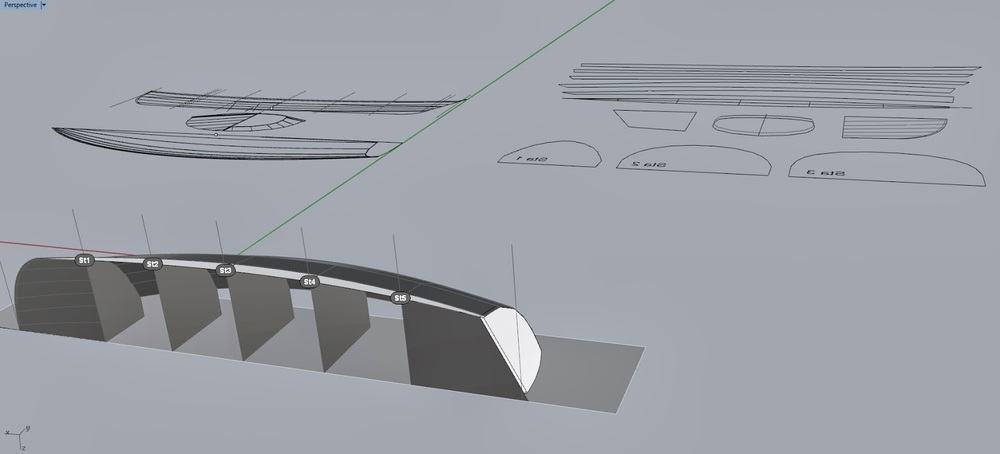
The last update had me quarter scale modeling the CIY hull. That work has completed and I've even put some paint on the model so it looks presentable. The model is also a great opportunity to use up left over paint and to test colors. I consider the color scheme -- and lack of varnish I might add -- to be an important part of the overall feel of my boats. I am not settled on the scheme, but still looking for the right brown for gunwales. I like the sand interior. The dark blue is the only boat I have ever used it and it works OK, but I am not in love with it.

My little guy helped me paint the interior of the CIY model. He said the interior color "looks really good, Daddy". So I'll go with that!

CNC Cutting in Maine

The parts for the kit were cut at Hewes & Co in Blue Hill, Maine. They also cut the Vivier boats now and all the Oughtred kits and I am so glad to be doing business with them. Here is their work:

The CNC cut Advantech chipboard supports for bulkheads with some patterns, too.


The CIY planks being CNC cut with the NC Scarf.


While the cutting was going on in Maine, the builders in Duluth were starting the birdsmouth masts and spars. They are great, hard working guys and have built several boats.

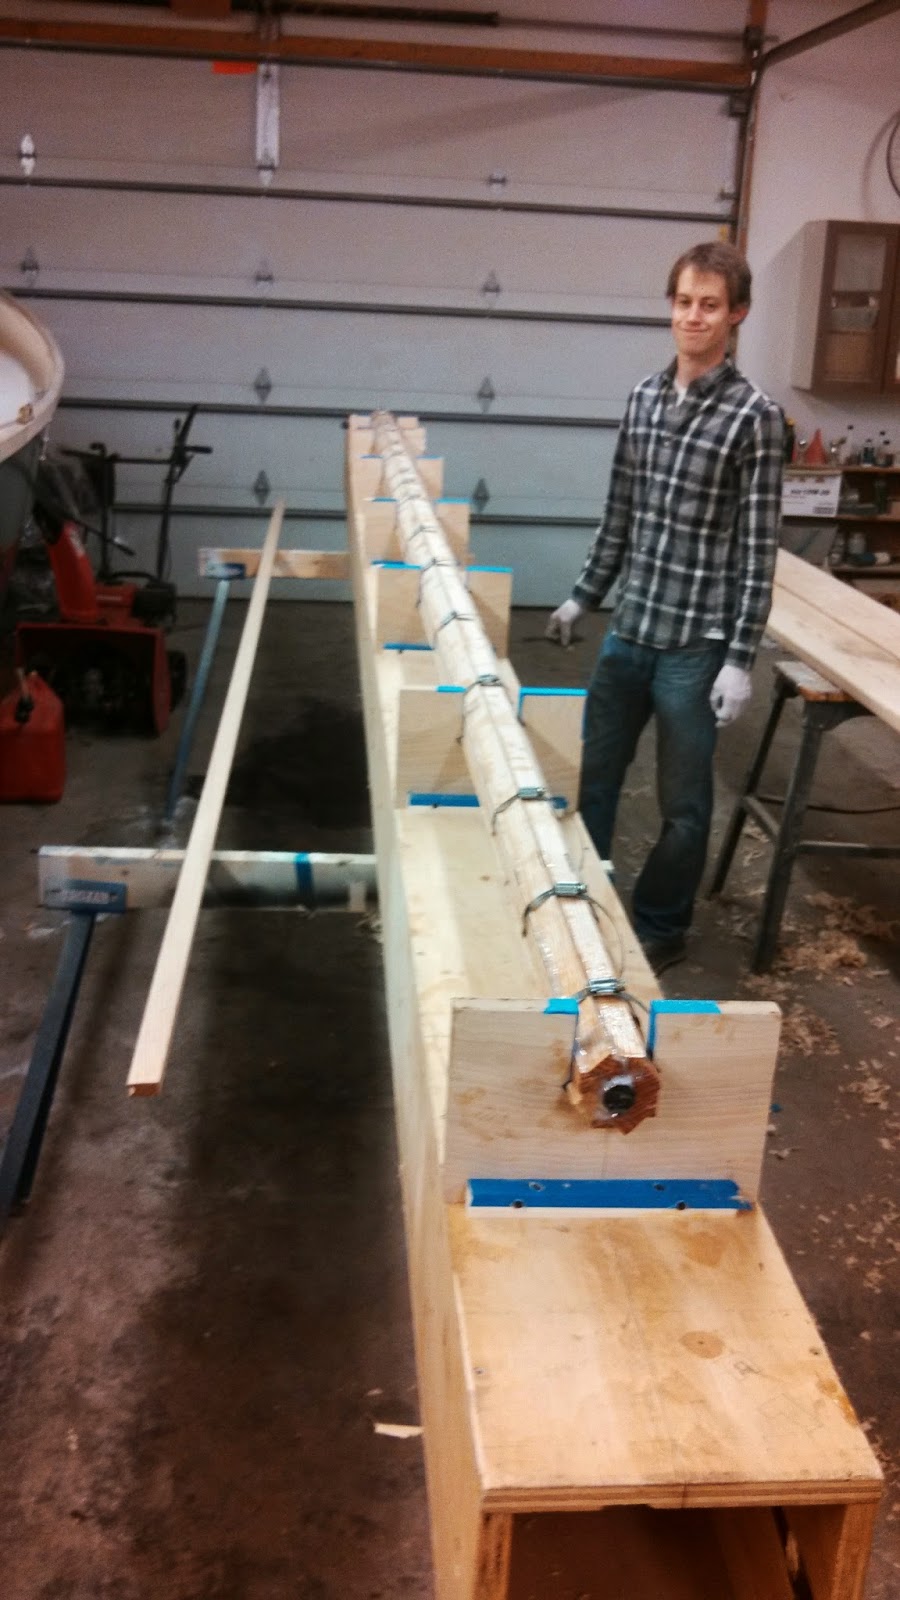
CIY Builders fabricating hollow-birdsmouth mast.

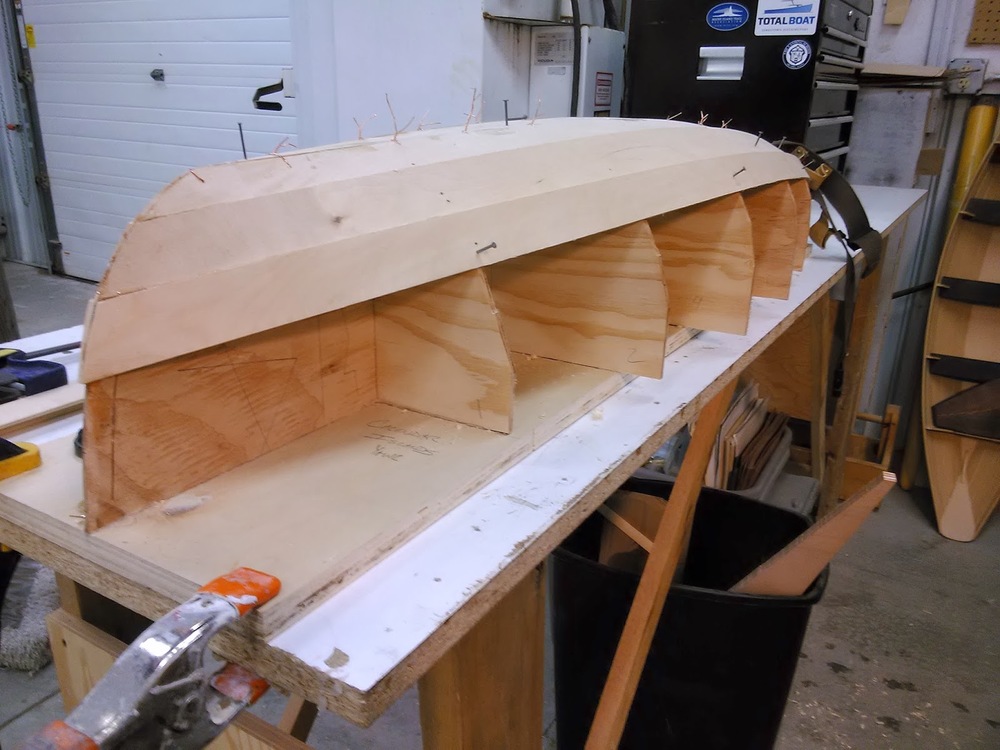
The kit arrives in snowy Minnesota. You can see the Advantech strongback components here.
The parts making begins. Here they glue up the NC stem.

My way of giving

In the meantime, in my studio overlooking the Saco River I work on more CAD files for people who want to build my boats. It is the highest honor and I will work hard to make it happen for them. They always give back and make the design better than I could have made it alone. The revised KDI kit is about to be cut again on the West coast, the new Drake 19 is shaping up for a few interested rowers, and the Deblois Street Dory is getting a revision based on the Compass Project build and plans and kits will be sent out this spring. I have views like this to keep me going.
I live in the North Dam Mill there on the left bank if the Saco River. The ice is almost out on the river!


Drake 19 Design Work Continues

Drake 19 Rowboat Project

Oar-and-Sail Tandem Rowboat and Cruiser with downwind sail

Drake 19 Rowboat with "squgsail" for off-the-wind sailing. Drake is primarily a rowboat (no board; rudder not shown above)

The 19 is essentially a stretched Drake 17 with the hull lines tweaked to support tandem rowing and fast, camp-cruising. The boat is being modeled currently and the hull lines tested next with a quarter scale model. Once the hull form is all set, the interior will be modeled and strongback prepared for kit-building. I'm excited about this boat and look forward to setitng up the first builder. I always offer an intro discount for the first builder as they are providing me with the help of documenting the build and providing feedback. If interested in being the first builder, please let me know. You can be experienced or a beginner, but one project of experience is helpful as is some good ole' problem solving abilities. The discount is generally 25-30% and the plans are free to the first builder.

Preparing the quarter scale model for the Drake 19. 

Calendar Islands Yawl Modeling Continued

Fleshing out the Calendar Islands Yawl

Modeling the Interior

While I am actually breaking out the geometry of the final 3D computer model, the interior of the "in-the-flesh" model was glued in yesterday and I'll prime it today.

Cutting out quarter scale bulkheads for Calendar Islands Yawl interior.

It never ceases to amaze me how everything just fits. Paper patterns are Spray77 tacked to 1/8" plywood and cut to the line on the bandsaw. Then the parts are glued into place with little to no refinement and they fit well. It makes this method of proving out the hull design quite efficient.

After hull turnover in actual full-size construction, this is what the boat interior will look like.

The beauty of kit construction, is that we set up stem, bulkheads, and transom on a CNC cut, self-jigging strongback. And after planking, we turn over the hull and the interior structure is already complete. In traditional construction, the molds would be removed and bulkheads fit in their place. Kit construction allows the professional and home-builder to skip the time consuming steps of making patterns and scribing in bulkheads.

After turn over, the tank tops are put in place. They play an important structural role in stiffening this very light boat.

Stay up to date with me as next I'll prime the hull and make paint choices. Furthermore, the cutting files will be ready for CNC cutting of the first kit. 


Modeling in the Flesh and Screen

 Modeling the hull

After slicing and dicing the hull "shell" in the computer, I had the parts cut and assembled them into a quarter scale model. Modeling is a great way to test the plank shapes and make sure the lines look good in 3D reality. 

The CNC cut parts delivered by CNC Routing & Design in Camden, Maine.


The molds set up and plank-keel attached. The molds are stand ins for the permanent bulkheads that will be set up in the actual boat. The molds are set up using hot glue.

Planking up the model over the molds. The planks (1/8" thick ply) fit well and the lines came out as fair as I could have hoped.
The CIY model with outer stem and gunwales attached. I slightly tweaked the sheer.

Aft view showing a very pretty transom. I also made slight tweaks to the width of the strake below the sheer, but most people would never notice. Not me; I see a line that's a 64th of an inch off!

Once I was assured that the hull aesthetics and plank fits were "right", I proceeded to finish modeling the interior of the hull and, finally, designing the strongback system, no small task. I'll report on this next post and hopefully show some paint on the model, too!


A Real Hull Model

The Calendar Iands Yawl

Hull Modeling in the flesh: part 1

CNC cutting parts for a quarter scale model

The 3D computer model is sliced up into sections that become molds for defining the hull shape.


You can see the molds formed now, trimmed to the hull surface,  and one more to go!
The hull is planked and ready to be broken up into the "flat" 2D geometry.

A neat screenshot that shows the 3D and 2D nature of the work: in the foreground is the 3D hull model. In the background is the geometry flattened onto the "construction plane".
This is the file with the 2D geometry as received by the CNC cutter, CNC Routing & Design in Camden, Maine. Tim will load the file into his Shopbot software, make toolpaths, and cut the parts.

The ShopBot machine cuts to my lines with a couple thousands of an inch accuracy. These are the planks of the boat, the bottom keel plank in the center and the sheer strake to the far right and left.

The molds of my quarter scale kit around which the planks will be wrapped and checked for fairness and for fit.